
How to Connect Domain to Hosting? A Step-by-Step Guide for Small Businesses Owners
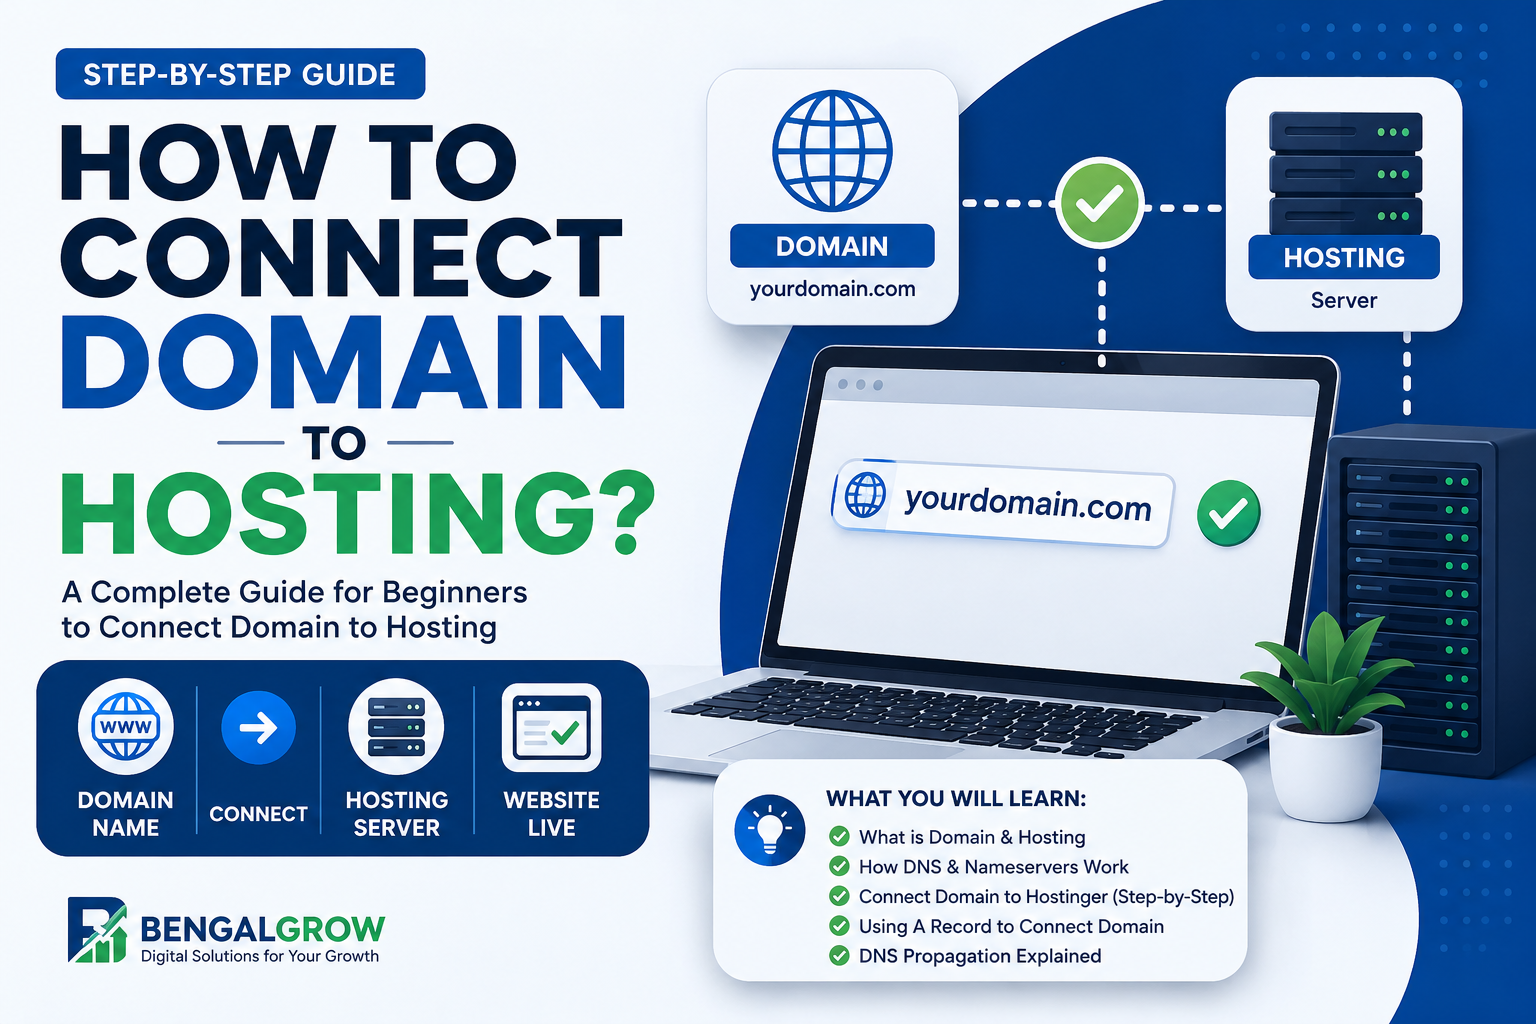
If you are creating a website for the first time, you may already have two important things: a domain name and web hosting.
But there is one question that confuses many beginners:
How do I connect my domain to my hosting?
Maybe you have watched several YouTube videos or read different blogs about domain and hosting. You may have seen words like DNS, nameservers, A Record, cPanel, hPanel, and DNS propagation.
And honestly, when you see all these technical terms for the first time, it can feel confusing.
But don’t worry.
The actual process is much simpler than it looks.
In this guide, I will explain how to connect a domain to hosting step by step, what nameservers are, how DNS works, how to connect a domain from another provider to Hostinger, and what you should do after the connection is complete.
If you are a beginner, just follow the steps one by one.
What Is a Domain?
Let’s start with the most basic question.
A domain name is the address of your website on the internet.
For example:
- google.com
- facebook.com
- amazon.com
- bengalgrow.com
When you type a domain into your browser, you are telling the browser which website you want to visit.
Think about your home address.
If someone wants to visit your house, they need your address.
Your website works in a similar way.
Domain = Your website’s address
For example, if your business website is:
example.com
People can type that address into their browser and visit your website.
But there is something important to understand.
A domain is only the address.
Your website files still need somewhere to be stored.
That’s where web hosting comes in.
What Is Web Hosting?
Web hosting is basically a server where your website files and data are stored.
When you create a website, you may have:
- Images
- Videos
- Website pages
- HTML files
- CSS files
- JavaScript files
- WordPress files
- Database
- Other website data
All these files need a server so that visitors can access them through the internet.
That server is provided by your web hosting company.
A simple way to understand it is:
Domain = Address
Hosting = House
Your domain tells people where your website is.
Your hosting is where the actual website lives.
For example:
Domain: example.com
Hosting: Hostinger
Your website files can be stored on Hostinger’s server, while your domain remains the address people use to access the website.
But there is one more step.
You need to connect them.
How Do Domain and Hosting Work Together?
This is the part that confuses most beginners.
Suppose you have:
Domain: example.com
And your website is stored on a hosting server.
Now someone types:
example.com
into their browser.
The browser needs to know:
“Which server should I contact to find this website?”
This is where DNS comes in.
DNS stands for Domain Name System.
In simple language, DNS helps direct your domain to the correct server.
The process looks something like this:
Visitor
↓
Domain
↓
DNS
↓
Hosting Server
↓
Website
So when your domain is correctly connected to your hosting, someone can type your domain and reach the website stored on your hosting server.
This is why simply buying a domain and hosting is not always enough.
You also need to configure the connection between them.
Why Do You Need to Connect Your Domain to Hosting?
You may be wondering:
“Why can’t I just buy a domain and hosting separately?”
You can buy them separately.
There is no problem with that.
The problem is that your domain needs to know where your website is hosted.
For example, imagine you bought:
Domain → GoDaddy
and:
Hosting → Hostinger
Your domain is at GoDaddy, but your website files are on Hostinger.
So you need to tell your domain:
“My website is hosted on Hostinger.”
You normally do this using DNS settings, often by changing the domain’s nameservers or by adding an A Record.
Once everything is correctly configured, visitors can access your website through your domain.
Before You Start: What Do You Need?
Before connecting your domain and hosting, make sure you have these things ready:
1. An active domain
For example:
yourwebsite.com
2. An active hosting account
For example:
Hostinger, Bluehost, SiteGround, or another hosting provider
3. Access to your domain account
You need to be able to change the domain’s DNS or nameserver settings.
4. Access to your hosting account
You need to find the hosting information, such as nameservers or server IP address.
Once these are ready, you can start the connection process.
How to Connect Domain and Hosting
There are different situations depending on where you bought your domain and hosting.
Usually, you will be in one of these situations:
Situation 1: Domain and hosting are from the same provider
For example:
Domain → Hostinger
Hosting → Hostinger
This is normally the easiest option.
Situation 2: Domain and hosting are from different providers
For example:
Domain → GoDaddy
Hosting → Hostinger
In this case, you normally need to update the domain’s DNS or nameserver settings.
Situation 3: You are moving to a new hosting provider
For example, your domain is already connected to your old hosting, but you want to move the website to a new hosting company.
You can usually keep the domain at the same registrar and point it to the new hosting.
You don’t necessarily need to transfer the domain.
Quick Overview: How to Connect a Domain to Hosting
Before going into the detailed steps, let’s quickly understand the whole process.
You will generally:
- Add your domain to your hosting account.
- Find your hosting provider’s nameservers.
- Log in to your domain registrar.
- Open the DNS or Nameserver settings.
- Replace the existing nameservers with the hosting nameservers.
- Save the changes.
- Wait for DNS propagation.
- Open your domain and check the website.
- Install WordPress if you are creating a WordPress website.
Now let’s go through these steps properly.
Step 1: Add Your Domain to Your Hosting
First, log in to your hosting account.
If you are using Hostinger, you will normally work from hPanel.
Look for an option such as:
Websites → Add Website
or an option for connecting an existing domain.
Enter your domain name.
For example:
example.com
Depending on your hosting provider and hosting plan, the exact options may be different.
The important thing is that your hosting account knows which domain you want to use for your website.
Step 2: Find Your Hosting Nameservers
Now you need to find the nameservers provided by your hosting company.
Go to your hosting dashboard and look for:
Nameservers
You may find them under:
- Hosting details
- Plan details
- DNS settings
- Domain connection
- Website settings
The exact location depends on your hosting provider.
You may see something similar to:
ns1.example.com
ns2.example.com
These are only examples.
Do not copy nameservers from this article.
Always use the exact nameservers shown in your own hosting account.
Copy them somewhere because you will need them in the next step.
Step 3: Log In to Your Domain Registrar
Now go to the company where you purchased your domain.
For example, your domain might be registered with:
- GoDaddy
- Namecheap
- Hostinger
- Cloudflare Registrar
- Another domain registrar
Log in to your account.
Then find your domain.
Look for an option such as:
Manage Domain
or:
Domain Settings
Then look for:
Nameservers
or:
DNS Settings
or:
Manage DNS
The exact wording can be different depending on the registrar.
Step 4: Find the Nameserver Settings
Once you find the DNS or nameserver section, you should see your current nameservers.
If you are using your registrar’s default DNS, you may see nameservers that belong to that registrar.
You will need to replace them with the nameservers provided by your hosting company.
For example:
Nameserver 1: ns1.example.com
Nameserver 2: ns2.example.com
Again, these are only examples.
Use the values given by your actual hosting provider.
Step 5: Update the Nameservers
Now replace the current nameservers with your hosting provider’s nameservers.
For example:
Old Nameserver 1 → New Nameserver 1
Old Nameserver 2 → New Nameserver 2
Then carefully check that you have copied everything correctly.
A small typing mistake can prevent your domain from pointing to the correct server.
So don’t type them manually if you can avoid it.
Copy and paste them from your hosting account.
Step 6: Save the Changes
After entering the nameservers, click:
Save
or:
Update
or whatever confirmation button your domain provider shows.
Now the DNS configuration has been changed.
But don’t expect the website to work everywhere immediately.
You may need to wait for the DNS changes to propagate.
Step 7: Wait for DNS Propagation
This is the part where many beginners get worried.
You change the nameservers and then immediately open your website.
Maybe it doesn’t work.
You think:
“I must have done something wrong.”
Not necessarily.
DNS changes take time to update across the internet.
This process is called DNS propagation.
Sometimes changes can start working within a few minutes.
Sometimes they take several hours.
Depending on the DNS provider and the type of change, full propagation can take around 24 hours or sometimes longer.
So don’t keep changing the DNS settings again and again just because the website isn’t opening immediately.
Give the changes some time.
Step 8: Verify Your Domain Connection
After giving the DNS changes some time, open your domain in a browser.
For example:
example.com
If your website loads correctly, your domain is most likely pointing to the correct hosting.
You should also check:
If SSL has been configured correctly, your website should open securely using HTTPS.
You can also test the website using:
- Incognito mode
- Another browser
- Your mobile phone
- Mobile data
- Another internet connection
This can help you identify whether your browser or network is still using an older DNS result.
Method 1: Domain and Hosting from the Same Provider
Now let’s talk about the easiest situation.
Suppose you purchased both:
Domain + Hosting → Same company
For example:
Domain → Hostinger
Hosting → Hostinger
In this situation, the provider may connect the domain and hosting automatically during setup.
You may simply need to select your domain when creating the website.
This is one reason beginners often find it easier to purchase domain and hosting from the same provider.
You don’t have to manually manage as many settings.
However, always check your domain after setup to make sure everything is working correctly.
Method 2: Domain and Hosting from Different Providers
Now let’s look at the more common situation.
Suppose:
Domain → GoDaddy
Hosting → Hostinger
You have two separate accounts.
Your domain is managed at GoDaddy.
Your website is hosted at Hostinger.
In this case, you need to connect the two.
The most common method is:
Get Hostinger nameservers → Add them to GoDaddy → Save → Wait for propagation
You don’t normally need to transfer the domain to Hostinger just to use Hostinger hosting.
You can keep the domain registered with GoDaddy and point it to Hostinger.
The same basic idea works with other domain registrars and hosting providers.
How to Connect a Domain to Hostinger
Let’s take Hostinger as a practical example.
Suppose:
Domain: example.com
Domain Registrar: Another company
Hosting: Hostinger
First, log in to your Hostinger account.
Open your website or hosting dashboard.
Add or connect your existing domain.
Then find the nameservers provided by Hostinger.
Copy the exact nameservers.
Now log in to the company where you purchased your domain.
Open:
Domain → Manage → Nameservers / DNS
Replace the current nameservers with the Hostinger nameservers.
Save the changes.
Now wait for DNS propagation.
Once the changes are active, open your domain in a browser and check whether the website loads.
How to Connect Domain Using Nameservers
For most beginners, the nameserver method is one of the easiest ways to connect a domain to hosting.
The process is:
1. Get nameservers from your hosting provider
↓
2. Log in to your domain registrar
↓
3. Open Nameserver settings
↓
4. Replace the existing nameservers
↓
5. Save
↓
6. Wait for DNS propagation
That’s basically it.
What do nameservers actually do?
Nameservers tell the internet which DNS service is responsible for your domain.
When you change the domain’s nameservers to your hosting provider’s nameservers, the domain starts using the DNS configuration provided by that provider.
This is why you should always get the nameservers directly from your hosting account.
How to Connect Domain Using an A Record
Nameservers are not the only option.
You can also connect your domain using an A Record.
An A Record points a domain or hostname to an IPv4 address.
For example, your hosting provider may give you a server IP such as:
123.123.123.123
You could create an A Record like:
Type: A
Name: @
Value: 123.123.123.123
The exact IP address and DNS records depend on your hosting provider.
You may also need to configure the www version of your domain.
When is an A Record useful?
An A Record can be useful when you want to keep your current DNS provider instead of changing the nameservers.
For example, your domain may already have DNS records for:
- Business email
- Email verification
- Subdomains
- Other online services
In this situation, changing nameservers without checking your existing DNS setup can cause problems.
So before changing DNS, always check whether your domain is already being used for email or other services.
How to Connect Domain in cPanel
If your hosting uses cPanel, the interface may look different from hPanel.
First, log in to cPanel.
Depending on your hosting plan, you may see options such as:
Domains
Addon Domains
or simply:
Domains
You may need to add your domain there, depending on your hosting configuration.
For DNS management, you may also see:
Zone Editor
The Zone Editor allows you to manage DNS records such as:
- A Record
- CNAME
- MX Record
- TXT Record
One important thing to remember:
Nameservers are generally changed at the domain registrar.
So if you purchased the domain from another company, don’t expect to change the domain’s nameservers from cPanel.
cPanel is mainly used to manage the hosting side and, depending on the setup, DNS records.
How to Connect Domain in hPanel
If you are using Hostinger, you will normally use hPanel.
Log in to your Hostinger account.
Go to:
Websites
Then add or manage your website.
If you are connecting an external domain, select the option to connect or add an existing domain.
Enter your domain.
For example:
example.com
Then follow the instructions shown by Hostinger.
If Hostinger asks you to update the nameservers, go to your domain registrar and replace the current nameservers with the ones provided by Hostinger.
Save the changes.
Then wait for DNS propagation.
Once the connection is complete, your domain should point to your Hostinger hosting.
How Long Does DNS Propagation Take?
There is no single exact time for every domain.
Sometimes DNS changes appear very quickly.
Sometimes they take several hours.
In some cases, you may need to wait around 24 hours or longer.
This is normal.
During propagation, you may see something strange.
For example:
Your website may open on your mobile phone but not on your computer.
Or your friend may see the new website while you still see the old website.
This can happen because different networks and DNS resolvers may still have cached information.
So if you have just changed your nameservers, don’t immediately make another change.
First, give the DNS system some time to update.
How to Check Whether Your Domain Is Connected
There are several simple ways to check.
Check 1: Open Your Domain
Type your domain into your browser.
For example:
example.com
If your website loads, that’s a good sign.
Check 2: Test HTTPS
Open:
Make sure the website loads without an SSL warning.
Check 3: Use Incognito Mode
Open your browser in incognito/private mode and test your website again.
Check 4: Try Another Network
Turn off Wi-Fi and open the website using mobile data.
This can sometimes help you determine whether your current network has cached an older DNS result.
Check 5: Check DNS Records
You can also use a DNS lookup tool to check your domain’s DNS records.
Depending on your setup, you may check:
- Nameservers
- A Record
- CNAME
- MX Records
- TXT Records
Compare the results with the DNS information provided by your hosting company.
Common Domain and Hosting Connection Problems
Even when the process looks simple, beginners sometimes run into problems.
Let’s look at the most common ones.
1. Wrong Nameservers
You may have entered the wrong nameservers.
Go back to your hosting account and compare the nameservers carefully.
2. DNS Propagation Is Still Happening
If you have just changed the nameservers, the new settings may not be visible everywhere yet.
Wait before making additional changes.
3. Domain Is Not Added to Hosting
You may have changed the nameservers correctly, but the domain may not have been added or connected inside your hosting account.
Check your hosting dashboard.
4. Website Shows the Wrong Site
This can happen if the domain is still pointing to an old server or if the DNS changes haven’t fully propagated.
Check your current DNS records.
5. SSL Is Not Working
Your domain may be connected, but HTTPS may not be ready yet.
Check your hosting’s SSL settings.
6. Email Stops Working
This is very important.
If you already use your domain for business email, don’t change nameservers blindly.
Your email may depend on DNS records such as MX records.
If you replace the nameservers without properly recreating the required DNS records, your website might work while your email stops working.
So always check your existing DNS configuration before making major changes.
What to Do After Connecting Domain and Hosting
Once your domain is successfully connected, you’re ready for the next stage.
Usually, the website setup process looks like this:
Domain
↓
Hosting
↓
DNS Connection
↓
SSL
↓
WordPress
↓
Theme
↓
Website Design
↓
Content
↓
SEO
Before installing anything, make sure your domain opens correctly.
Then check HTTPS.
After that, you can install WordPress and start building your website.
How to Install WordPress After Connecting the Domain
If you want to build your website using WordPress, the next step is to install WordPress on your hosting.
Many hosting companies provide a simple WordPress installer.
The general process looks like this:
Open Hosting Dashboard
↓
Select Your Website
↓
Choose WordPress / Install WordPress
↓
Select Your Domain
↓
Enter Website Details
↓
Create Admin Login
↓
Install WordPress
You may need to enter:
- Website name
- Admin username
- Admin password
- Admin email address
Use a strong password for your WordPress administrator account.
After WordPress is installed, you can normally access your dashboard using:
yourdomain.com/wp-admin
For example:
example.com/wp-admin
From there, you can install your theme, customize your website, create pages, publish blog posts and start working on SEO.
Simple Example for Beginners
Let’s make the entire process even easier.
Suppose you have a small business.
You buy:
Domain: mybusiness.com
from GoDaddy.
Then you buy:
Hosting: Hostinger.
Now you have two separate things.
Your domain is like the address of your shop.
Your hosting is like the shop building where everything is stored.
But your address doesn’t yet know where the shop is.
So you tell the domain:
“My website is hosted here.”
You do this through DNS.
The easiest method for many beginners is to use the hosting provider’s nameservers.
So your process becomes:
Buy Domain
↓
Buy Hosting
↓
Add Domain to Hosting
↓
Find Hosting Nameservers
↓
Open Domain Registrar
↓
Change Nameservers
↓
Save
↓
Wait for DNS Propagation
↓
Open Your Domain
↓
Check SSL
↓
Install WordPress
↓
Build Your Website
That’s the basic process.
It may look complicated when you first see words like DNS, Nameserver, A Record, hPanel and cPanel.
But once you understand what each one does, it becomes much easier.
Frequently Asked Questions
Can I buy my domain and hosting from different companies?
Yes.
You can buy your domain from one company and hosting from another.
You just need to connect them using the appropriate DNS method.
Do I need to transfer my domain to my hosting company?
No.
You usually don’t need to transfer your domain just because you purchased hosting somewhere else.
You can keep the domain with your current registrar and point it to your new hosting.
What is the easiest way to connect a domain to hosting?
For many beginners, using the nameservers provided by the hosting company is one of the easiest methods.
What is an A Record?
An A Record points a domain or hostname to an IPv4 address.
It can be used to point your domain to a specific hosting server.
How long does it take for a domain to connect to hosting?
It can sometimes happen within minutes, but DNS changes may take several hours to propagate. In some cases, you may need to wait around 24 hours or longer.
Why is my website not opening after changing nameservers?
Possible reasons include:
- DNS propagation is still happening
- Wrong nameservers were added
- Domain was not added to hosting
- DNS records are incorrect
- SSL is not ready
- Your browser or network has cached old DNS information
Check each possibility before changing your settings again.
Can I connect a GoDaddy domain to Hostinger?
Yes.
You can keep your domain registered with GoDaddy and point it to Hostinger by updating the appropriate DNS or nameserver settings.
Can I connect a Hostinger domain to another hosting company?
Yes.
You can generally point a domain to another hosting provider by changing the appropriate DNS settings.
Do I need cPanel to connect my domain?
No.
You don’t specifically need cPanel.
Different hosting providers use different control panels, such as cPanel, hPanel or their own custom dashboards.
The basic concept is still DNS.
Is a domain the same as hosting?
No.
They are two different things.
Domain = Your website address
Hosting = The server where your website files are stored
You normally need both to run a traditional website.
Final Conclusion
If you are creating a website for the first time, domain and hosting can seem confusing.
But once you understand the basic idea, the process becomes much easier.
Just remember:
Domain = Your website address
Hosting = Where your website lives
DNS = The system that helps direct your domain to the right place
And:
Nameservers = One common way to connect your domain’s DNS to your hosting provider
Once your domain is connected to your hosting, you can install WordPress, choose a theme, create your pages, publish content and start working on SEO.
The most important thing is not to panic when you see technical terms.
You don’t need to become a DNS expert to build a website.
Just understand what you are changing, use the exact DNS information provided by your hosting company, and give DNS changes enough time to propagate.
Once you do it once, you’ll probably find that connecting a domain to hosting is much easier than it first appeared.
এটাই আপনার article-এর জন্য আমি GoDaddy-এর মতো long-form tutorial format হিসেবে recommend করব। বিশেষ করে আপনার নিজের video থেকে নেওয়া explanation + নতুন beginner-focused information—দুটো একসঙ্গে রাখা হয়েছে, যাতে article-টা শুধু “কীভাবে করবেন” না হয়ে একটি complete guide হয়।